Saturday, March 25, 2017

Allow Others to Upload Files to Your Google Drive


We are like many other districts a few years ago and purchased many iPads. These devices are a great use in our classrooms, but they also have some downfalls. The main one was getting content created on the student iPad to a teacher. We have used some creative workarounds and we have managed to waddle through and get things to work, but below is a very easy way to get content (photos, videos, other files) off of the iPad to a teacher’s Google Drive with ease! Follow the steps below and make content created on iPads easy to share!


Allow Others to Upload Files to Your Google Drive


  1. You will need to make a copy of this file (click HERE!). Now..don’t panic. You will have to look at some script. Before you go ahead and close this link down and say that you can’t do it….neither could I! I have zero, yep ZERO, skill in script and I did this with no problems. Please keep reading and you will see it is SOOOOOOO easy!
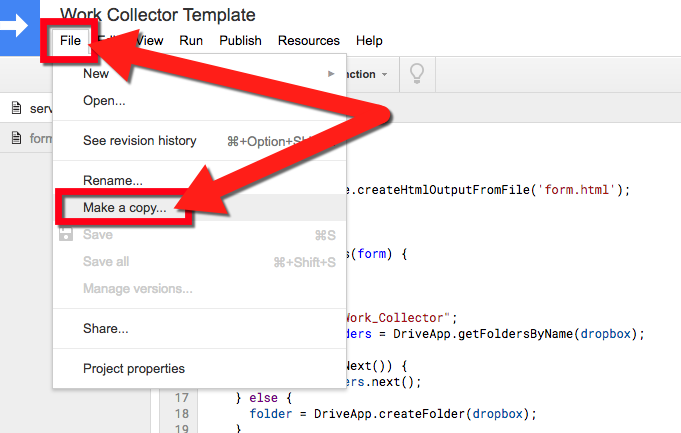
  2. You have the link clicked above, right? Still with me? COOL! Now click “File” and “Make a copy”. (This will take a moment to load...be patient!)


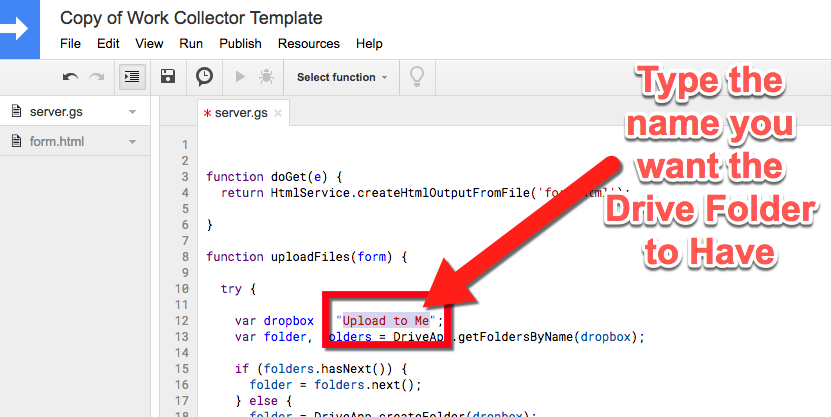
  1. Rename Line 12 from “Work_Collector” to the name you would like a Google Drive folder named (this is where files will be uploaded). I named mine “Upload to Me”.


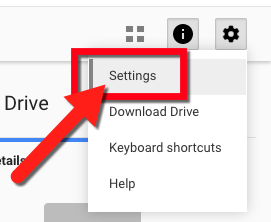
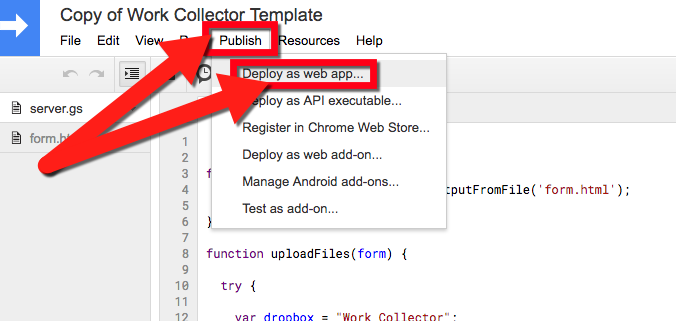
  1. Click “Publish” and then click “Deploy as web app…”.


  1. The next step is to allow access to “Anyone, even anonymous”.
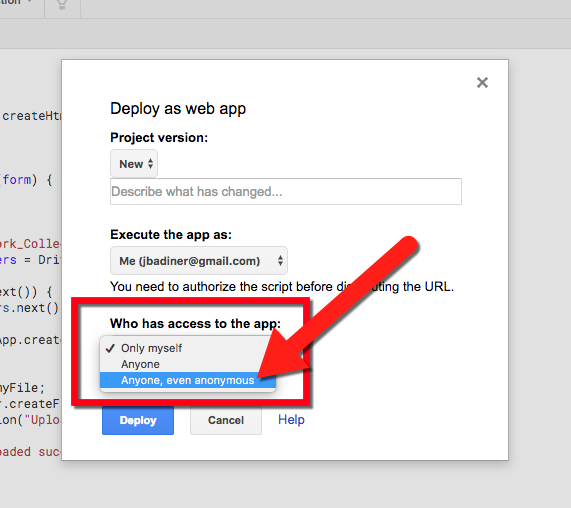


  1. Click Deploy
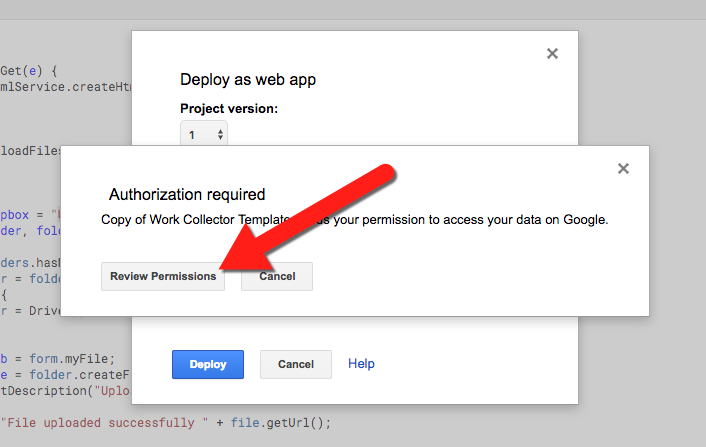
  2. Accept and allow permissions.


  1. Copy the “Current web app URL” and click OK”.


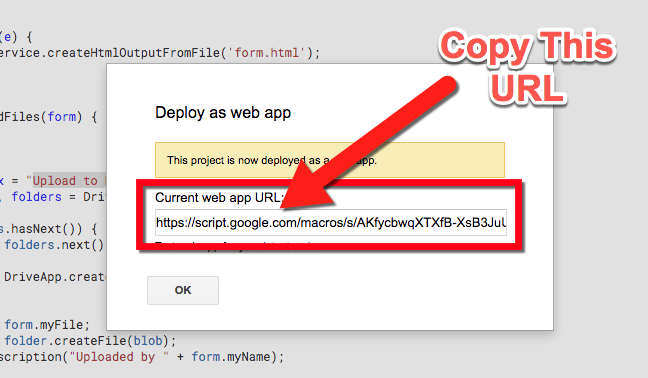
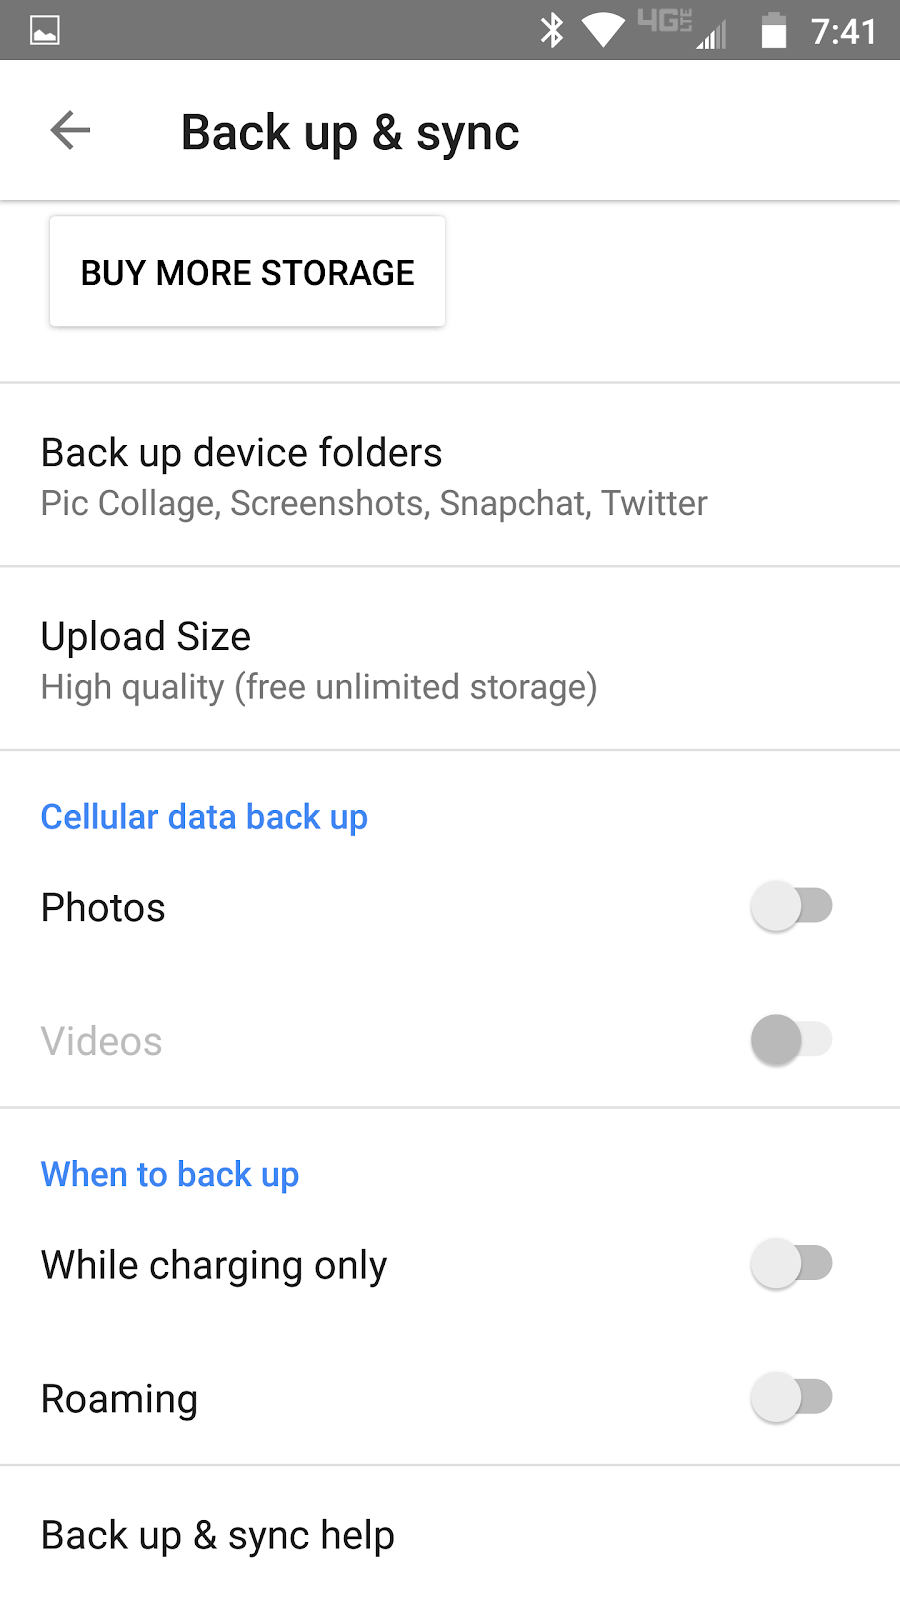
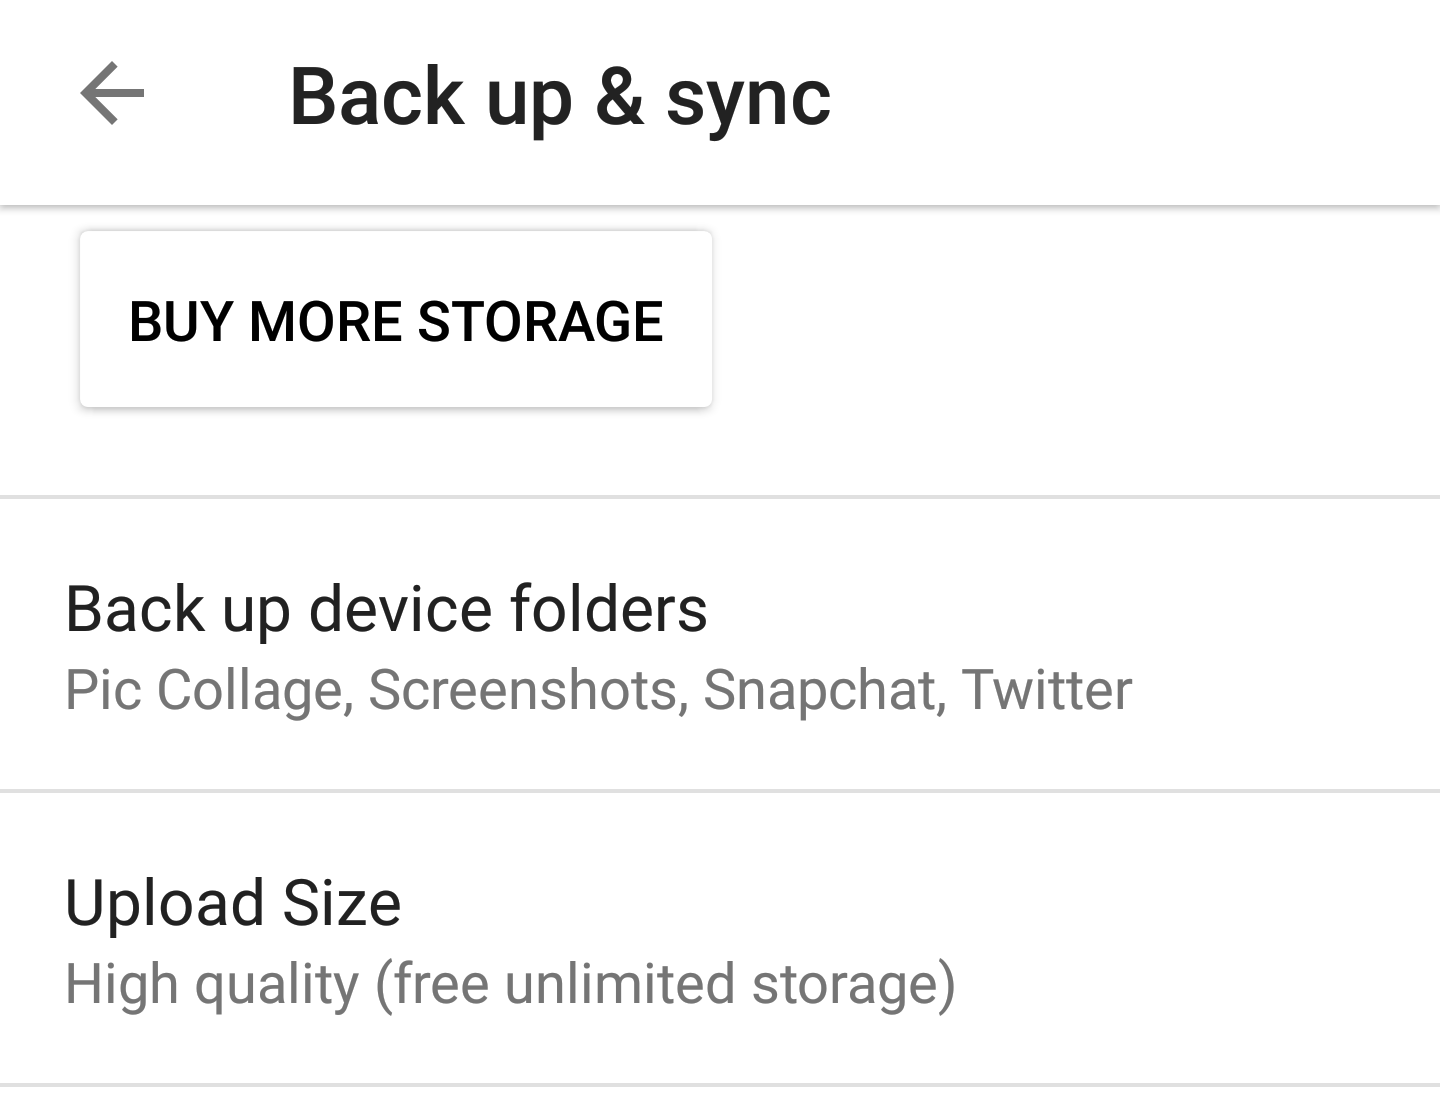
  1. This URL is what you give to others to use. You can set it as a shortcut on the device desktop or make a QR code. When they go to the link here is what they will see.


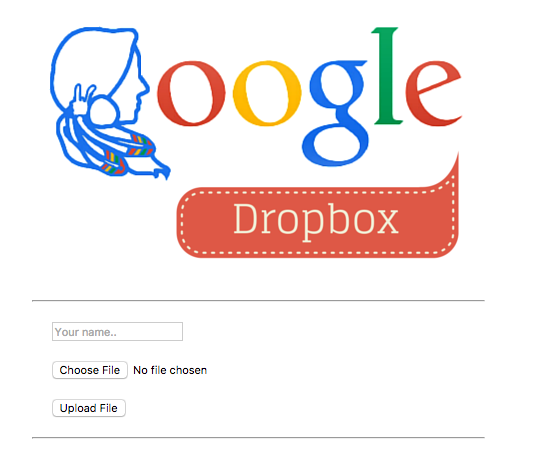
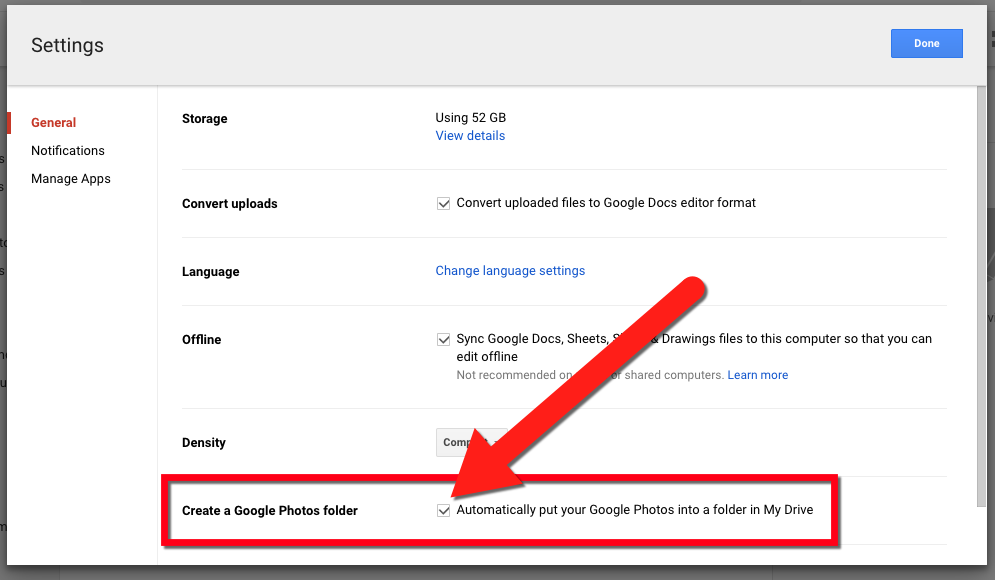
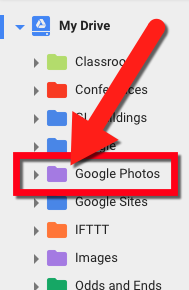
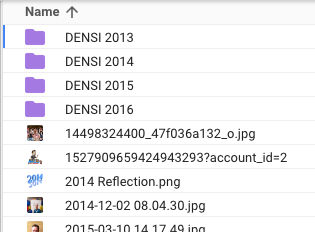
  1. After someone uploads a file to you a folder will be created in your Google Drive. The folder will be named whatever you changed in step 3.


This will allow anyone to upload files to your Google Drive easily and from any device as long as they have internet connection. Give it a try and start having others share with you!


Check out these steps in a YouTube Video here: YouTube Link


If you want these steps in a Document, click HERE!


Wednesday, March 22, 2017

Organize Your Google Photos


I love Google Photos. Not only do I never have to worry about losing any pictures that I've taken (every one is automatically uploaded/backed-up in Google Photos...click HERE for how to do this), but there is so much I can now do with these pictures. Once images are in the cloud I can organize them with ease so finding them is much less time consuming. Check out how to start organizing your Google Photos below!


Organize Your Google Photos

Create an Album:
  1. Open Google Photos in your web browser.


  1. Select all the pictures you want grouped together in an album. Check the blue checkbox in the top left corner of each picture.


  1. Click the “+” icon in the top right.


  1. Click on “Album”.


  1. Choose an already created album or create a new one.


Organize Photos in Drive:
  1. Open your Google Drive.
  2. Click on the gear in the top right and click on “Settings”.


  1. Make sure the “Create a Google Photos Folder” is checked.


  1. You will see this folder “Google Photos” in your Drive. Open that folder.


  1. Here is where you can create folders and organize all your pictures. Mode them around, share them individually or as shared folders. This is the easiest way to organize classroom pictures for parents to see.


Now that you know how to organize your photos, get your pictures into albums and organize all those uploaded photos!


If you want these steps in a Document, Click Here!

Edit Photos with Google Photos


I love Google Photos. Not only do I never have to worry about losing any pictures that I've taken (every one is automatically uploaded/backed-up in Google Photos...click HERE for how to do this), but there is so much I can now do with these pictures. Once images are in the cloud I can edit my photos with ease. Check out how to edit photos with Google Photos below!


Edit Photos with Google Photos


  1. Open a browser on your laptop and go to photos.google.com.
  2. Locate the image you would like to edit. Click on it to open.
  3. Click on the pencil icon to bring up the edit tools.


  1. These editing tools will allow you to make changes to the image.


    1. Color Filters:
      1. These will allow you to set the tone of the image.
    2. Basic Adjustments:
      1. This allows you to adjust the light, color, and pop of your image.
      2. There are also sub setting within those 3 above.
    3. Crop and Rotate:
      1. This allows you to rotate and crop your image
  1. Once you are done editing you can either save the image (overwrites the original one) or “Save a Copy” which will create a new image while retaining the original.


Log into your Google Photos and start editing your pictures to look the way you want them to look! Get creative and enjoy!


If you want these steps in a Document, Click Here!

Create with Google Photos


I love Google Photos. Not only do I never have to worry about losing any pictures that I've taken (every one is automatically uploaded/backed-up in Google Photos...click HERE for how to do this), but there is so much I can now do with these pictures. Once images are in the cloud I can create some awesome things. Check out all the fun you can create with Google Photos below!


Create with Google Photos

Creating GIFs:
  1. Open your Google Photos.
  2. Select up to 50 images using the blue check mark in the top left of each image.
  1. Click the “+” icon in the top right.


  1. Choose “Animation” to have these images create a GIF.


Creating Collages:
  1. Open your Google Photos.


  1. Select up to 9 images using the blue check mark in the top left of each image.
  1. Click the “+” icon in the top right.


  1. Choose “Collage” to have these images create a GIF.


  1. You are now given all the Photo Editing options (see above).


Sign into your Google Photos and get CREATING!


If you want these steps in a Document, Click Here!


Saturday, March 4, 2017

Auto Backup Photos to Google Photo

I remember the days of stressing about losing all those priceless photos on my mobile devices. There were options to do easy backups (Dropbox, iCloud, Flickr, etc) but space was always an issue. This is not the case any more. Welcome to the world of FREE Cloud Backup! Using Google Photos you are able to backup every picture your phone or mobile device takes without having to do a thing. Follow the steps below to start backing up all those pictures you take of your kids, pets, and other amazing moments you want to treasure forever!


Auto Backup Photos to Google Photos

  1. First, you must have a Google account added to your device. Because every image will be automatically backed up into the selected Google account there are a couple of things to consider before starting.
    1. If this is a school device, only take pictures on this device of school related events.
    2. If this is a personal device (cell phone, personal tablet) only take pictures on this device of personal events.


  1. Install the Google Photos app (iOS, Android).


  1. Open the app and sign in with your Google Account. Something to keep in mind, you are able to have multiple accounts in Google Photos but switching back and forth is not something that I would encourage. One account will always be enabled and all images on the device will be backed up to that account.


  1. Tap the 3 lines (hamburger) in the top left. Then tap on “Settings”.


  1. Turn on “Backup and Sync”. You may have to choose the account to back up at this point.


  1. Choose the correct setting for upload size.
    1. High Quality (Choose this if you do not have unlimited Google Space like a GAFE account.)
    2. Original (Counts against storage: If you are using a personal Google account do NOT choose this, but a GAFE account is unlimited space.)


  1. If you are on a cell phone that uses data, make sure to choose “On wifi” if you have a data limit.


  1. You can also select which folders you want to sync.


You are all set! Every picture you take with your device will now sync to your Google Account when you are on wifi (or use cell data if you chose that option). You will find all these images by going to photos.google.com in a web browser.


If you want these steps in a Document click Here!