Sunday, May 15, 2016

Remove Unused Rows and Columns


I will admit it, Google Sheets is one of my favorite Google tools. I use it for many things: data sheets, creating charts, making organized tables, reordering text lists by name, math assessments, and many other things many use Documents to do. One of the things that is most over looked is that the overall size of a Sheet is editable. Many users leave all those pesky unused cells lingering and this makes it far too easy to get lost in a sheet by accidently scrolling through empty rows and columns. By removing those unused cells, Sheets can be managed and used in ways not thought of before (almost like a standard document) with defined edges. Check out the easy steps below to get rid of all those unwanted empty cells.


Remove Unused Rows and Columns

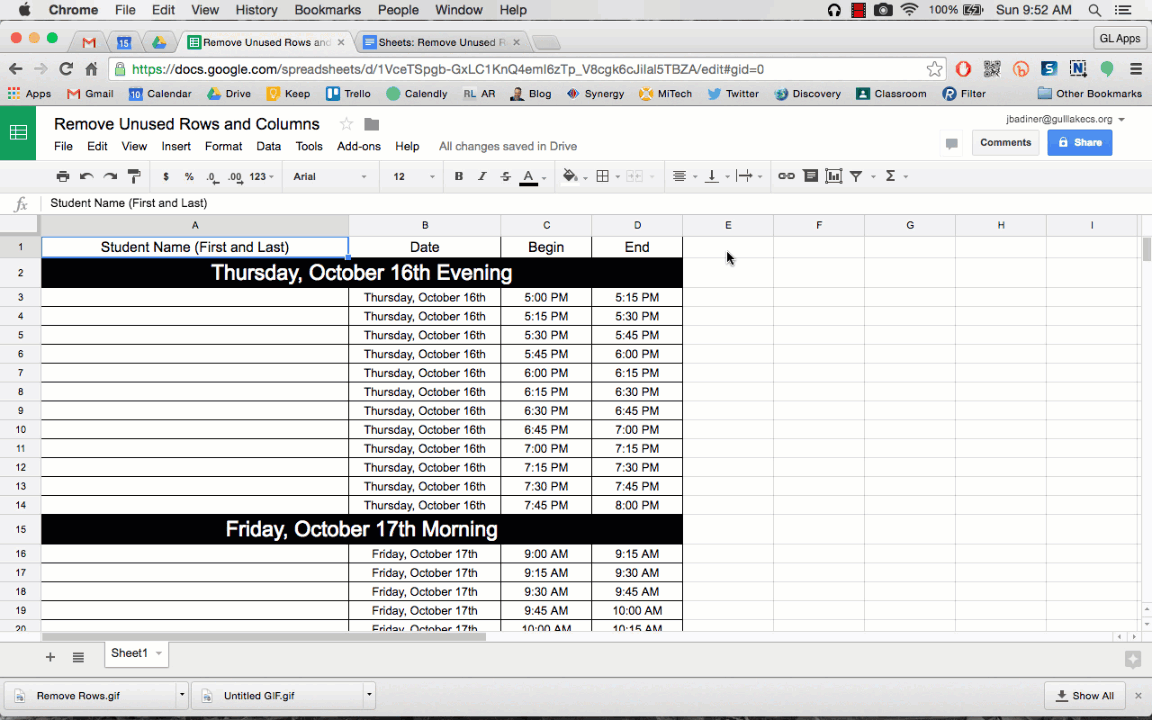
  1. Open or create a Google Sheet.
  2. Locate the cells you no longer want (the unused rows and columns after all your work).
  3. Remove these unused cells with the following steps:

Removing Unused Rows:
  1. Click to the first row you want to remove.
  2. Hold Command+Shift+(down arrow) on Mac or Ctrl+Shift+(down arrow) on PC.
  3. Right Click on one of the row header numbers that is selected.
  4. Choose Delete Rows (numbers).


Removing Unused Columns:
  1. Click to the first column you want to remove.
  2. Hold Command+Shift+(right arrow) on Mac or Ctrl+Shift+(right arrow) on PC.
  3. Right Click on one of the column header letters that is selected.
  4. Choose Delete Columns (letters).


Now your Google Sheet is the exact size you want and there is no getting lost in the unused columns and rows. I do this on every Google Sheet I use as it makes navigating the document much easier.


Want these steps in a Document? Click Here!


Tuesday, May 3, 2016

Synergyse Training for GAFE

We all know how awesome Google Apps for Education really is: collaboration, free, web tools, free, syncing across multiple devices, free, accessible anywhere, free, unlimited storage, and did I mention FREE? Now that so many of us have tasted and enjoy the Google Kool-Aid we find ourselves wanting to learn more about the tools. We are all looking for tips and tricks, hidden features, better ways to use tools, and the most current updates to our favorite Google tools. If only there was a place to go to have videos, online tutorials, and interactive training. Wait...there is! Google has just acquired Synergyse, a training platform that is being integrated right into your already favorite Google tools. The best part is you do not have to go looking for helpful resources, they are attached to the Google tool you already have open! Install the Synergyse Chrome Extension now and start learning to use Google tools to their fullest!


Synergyse Training for GAFE


  1. Install the Synergyse Chrome Extension from the Chrome Web Store (click here).
  2. Allow the required permissions and refresh your Google Tools to have the Synergyse icon placed in the top right corner.


  1. This icon will appear in Google Gmail, Calendar, Drive, Documents, Sheets, Slides, Sites, Google+, and more! (Full list below)


  1. When in one of these Google tools, just click the Synergyse icon in the top corner and a list of available resources will come up.


  1. Search for or click on the topic you wish to learn more about and a video will pop up and play.


  1. Many tutorials also have helpful “step by step” interactive tools that walk you through just what you want to do. They shade out areas, place call outs, and require you to click to continue. Also, the spoken text is also written in the box on the left.


  1. All your progress is saved and recorded so you know what you have worked on. There is a dashboard that you can visit to see what tools have been used as well.


  1. You can also search for helpful videos without being in the actual tool by visiting https://portal.synergyse.com/a/#videos/en/mail.


Synergyse is being integrated into all Google tools later this year. Right now you can install the Chrome Extension and start using it. Give it a try!


If you want these steps in a Document, Click Here!


Sunday, May 1, 2016

Restrict Adult Content on the iPad

We know this is an issue: the freedom children have on mobile devices to do, go, and see what they want (or accidently stumble on). Many talk about setting up parental controls but get lost in the steps trying to set them up. Here are the steps to restricting adult content from being displayed on the iPad within the browser. Please keep in mind that this is not a 100% blocking technique. New sites are created all the time that are not set in the Apple filter as of yet. Parents always need to be present with younger children and monitor all web activity as well as discuss proper browsing etiquette. To get started and filter out most adult content, follow the steps below:


Restrict Adult Content on the iPad


  1. Open the “Settings” app.


  1. Tap on the “General” section (left side).


  1. Navigate to “Restrictions(right side).


  1. Select "Enable Restrictions".


  1. Enter a passcode that you will remember. You will need to do this twice. Also, you will need this passcode to enable and restrict any settings in the future. It is very important you remember this passcode.


  1. Once your passcode is selected scroll down and tap "Websites".


  1. This will open a screen where you can choose to block "All Websites", "Limit Adult Content" or block "Specific Websites Only". Tap "Limit Adult Content".


  1. The "Limit Adult Content" option will automatically block most adult websites, but you can also add more by using the "Specific Websites Only" tab. Additionally, you can manually add more websites by selecting the "Add a Website" option.


  1. Once you're finished, just close the “Settings” app and all your changes will be saved.


Here are these directions shown in a YouTube video to help:


To view these directions in a document, click Here!