Tuesday, February 24, 2015

Disable the Calendar Gadget in Gmail

If you are like me, you may have a lot of Gmail labels you are throwing email into. Nothing is more annoying than the calendar gadget that keeps popping up and making finding your labels tough. In our district, the Google Calendar Gadget was set on by default. Here are the easy steps to disable this gadget in Gmail. In it’s place, I installed the Chrome Calendar Extension. It works much better.


Disable the Calendar Gadget in Gmail

  1. Go to Gmail.
  2. Click on the gear and go to “Settings”.


  1. Go to “Labs”.


  1. Scroll to “Google Calendar Gadget”.
  2. Click “Disable”.


  1. Scroll to the bottom and click “Save Changes”.


If you want to use the Google Calendar Chrome extension, click here: Google Calendar Extension.


If you want these directions in a document click here.


Monday, February 23, 2015

Force Others to Make a Copy of a Google Document

One of the gems of Google Drive is how easy sharing documents can be. One of the struggles, however, can be getting students to create a copy of a shared document. In most cases I would simply share a document with “View Only” rights, tell them to go to “File” and then click “Make a copy”. This works well, and most students can handle it. Every once in a while you might want it to be even easier. Below are some steps to make a document viewable only after the student makes a copy.


Force Others to Make a Copy of a Google Document


Create your document and give it “View only” rights.
  1. Open a document and click the blue “Share” button.
  2. Click “Advanced”.


  1. Click “Change”.


  1. Click “Anyone with the link” and choose “Can view” from the dropdown.


  1. Click “Save”.
  2. Click “Done”.


Make the document a force “Make a Copy” document.
  1. Click the blue “Share” button.
  2. Click “Copy Link” then click “Done”.


  1. Share this link in an email to your students. When you paste the link into the email, change the words “edit?usp=sharing” (or your text) at the end of the url to “copy”.


  1. Send your email. They will get the following screen when they click the link asking them to make a copy. They will need to click “Make a copy”.


  1. Have them rename the document to your naming format by clicking on the title and renaming the document.


If you want these directions in a document click here.


Friday, February 13, 2015

Chrome Apps and Extensions

Google Chrome is the only browser I use. It does it all: fast browsing, saves passwords, syncs data (bookmarks, passwords, history, and more across devices), and it just runs well. Another great feature is the ability to customize with Extensions and Apps. Extensions and Apps allow you to do more with your browser. I have my favorite Extensions (AdBlock, QR Codify, OneTab, Bit.ly, Evernote Web Clipper, Snagit for Chrome, Hangouts, Google Calendar, and Google Email Checker). I use these Extensions all the time, and they live in the top right corner of Chrome ready to go. Take a look in the Chrome Web Store and see what Extensions and Apps can help you. Follow the steps below to get started.


Chrome Extensions and Apps


  1. Open Chrome. I suggest you log into Chrome to allow syncing (directions here).
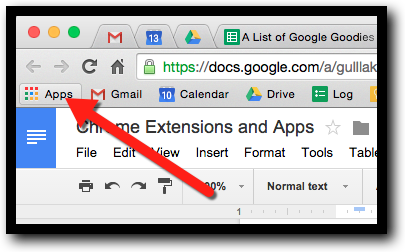
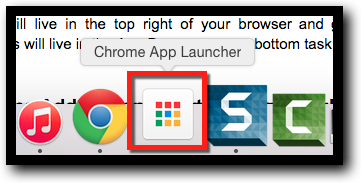
  2. Click the “Apps” button on the far left side of your browser.


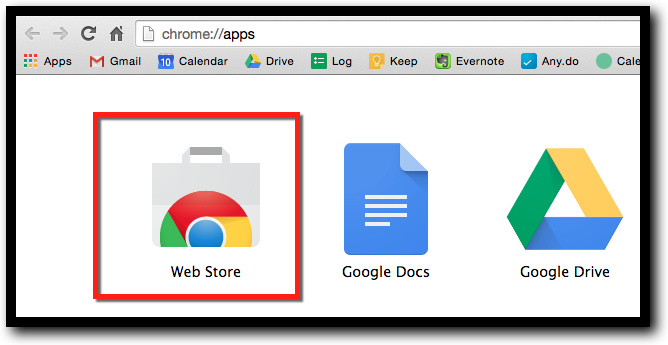
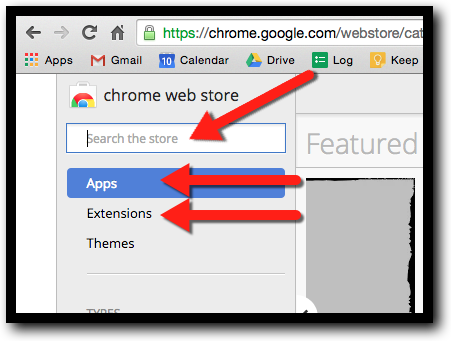
  1. Click on “Web Store”.


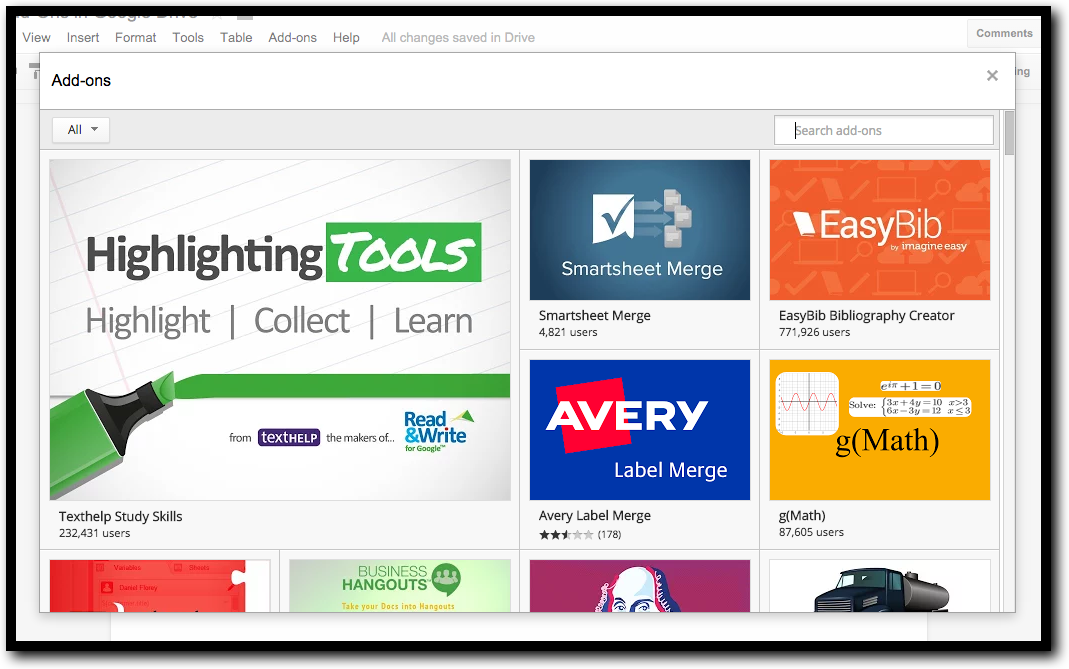
  1. Search for an Extension or App. You can filter by clicking which type you are looking for (App/Extension).


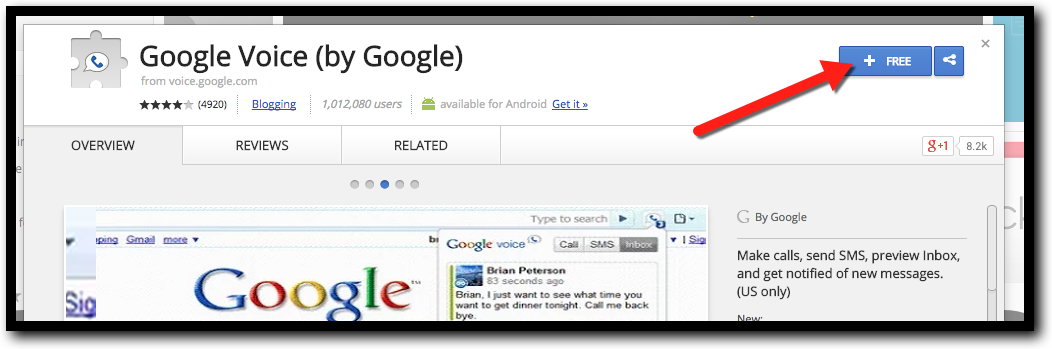
  1. Click on the item you want and read the description and reviews.
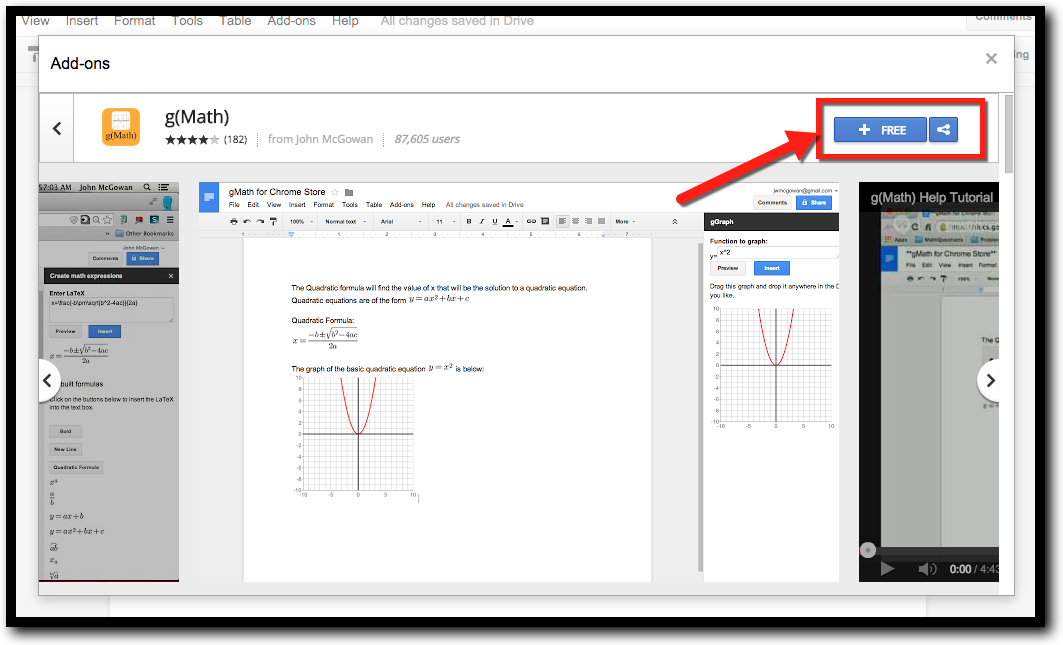
  2. Click “Free” to install.


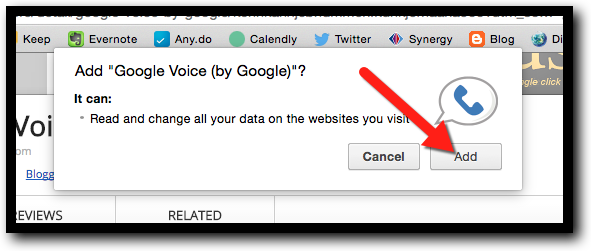
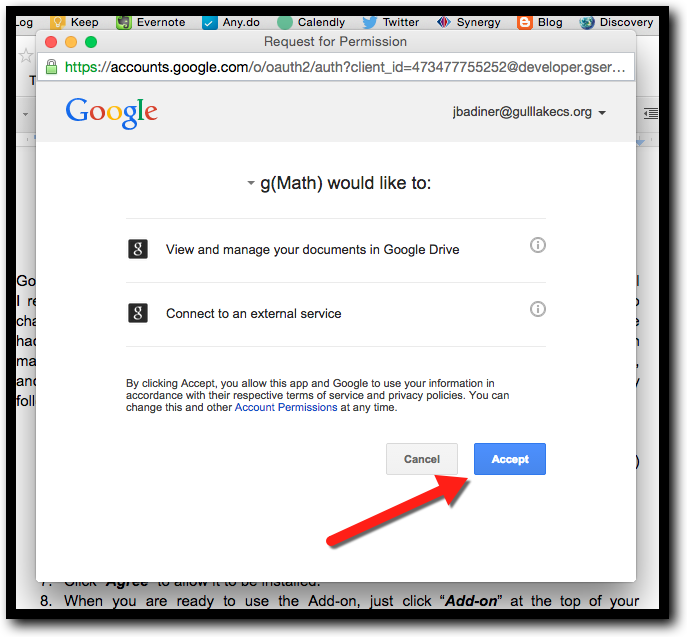
  1. Click “Add” to give Chrome the permission to connect to your browser.


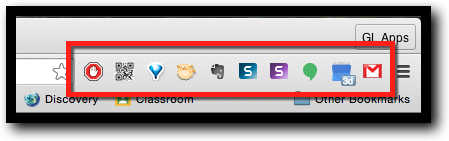
Extensions live in the top right of your browser. Extensions affect the way that the browser works and allow stand-alone actions (scrolling boxes, note taking, sending data to personal accounts, accessing other programs) all with the action of clicking the button and not always needing the browser’s full window.


Apps live in the App Drawer on your bottom dock. Apps are basically websites. They run within Chrome's browser. Sometimes they may need to install a small component on your computer, but that will only make a difference when you're using that particular Web app.


Get some Apps and Extensions and start making Google Chrome work for you!


Alice Keeler’s Awesome List Here!
EdTech Nut’s Awesome List Here!
Eric Lawson’s Awesome List Here!


If you want these directions in a Document click here!


Using Add-Ons in Google Drive

Google Drive has come a long way! To be honest, I no longer use MS Office. Google does all I really need (as long as I do not need columns or text boxes). One of the best things to change was the addition of Add-ons. These replace many of the more difficult scripts that we had to use in the past (there are still some awesome scripts out there that have not been made into Add-ons yet). These Add-ons allow easy mail merge, templates, quiz grading, labels, and many more. All the Add-ons can be added to your Google Drive quickly and easily by following the steps below.


Using Add-Ons in Google Drive

  1. Log into your Google Drive.
  2. Open a Google Document. The Add-ons are specific to the tool (Doc, Sheets, Slide) you are using.
  3. Click “Add-ons”.


  1. Scroll through the listed Add-ons to find what you are looking to use.


  1. Click on an Add-on to read the description and reviews.
  2. Click “Free” to have it added.


  1. Click “Accept” to allow it to be installed.


  1. You will get a notification that this Add-on has been added to your documents.


  1. When you are ready to use the Add-on, just click “Add-on” at the top of your document and select it from your list of installed Add-ons. Follow the directions the Add-on gives to use the tool.


Get some Add-ons and start making Google Drive work for you!


If you want these directions in a Document click Here!


Thursday, February 5, 2015

Pin Tabs in Google Chrome

Hi...my name is Jeremy, and I’m a tabaholic! I live in Google Chrome and at any given moment I have at least 10 tabs running at the same time. There...I feel better. Thanks! The good news, this is not a problem for me. How can I tell what each tab is? Simple...I pin the important ones. What is pinning tabs, you ask? It makes the tab small (only showing the site icon), and “locked” in place to allow more real estate for other tabs in my browser. Follow these steps and begin pinning!


Pin Tabs in Google Chrome

  1. Start Google Chrome.
  2. Open all the tabs you want to pin.
  3. Right click on a tab.
  4. Click on “Pin Tab”.


  1. Repeat and reorder so all your tabs that you use every day are auto started each time you start Chrome and in the correct location. You can reorder these at any time. I pin Mail, Calendar, and Drive. Pinned tabs look like the ones in the box below (only icon).


Notes:
  • If you are on one of these pinned tabs and change the address (go to another site) the last site is what will open when Chrome is restarted.
  • The pinned tabs are always going to be on the left side (you can reorder them at any time but the will always be the first tabs).
  • If you close a tab it will not return the next time you restart Chrome. Only tabs currently used will return.
  • Warning: The more tabs you have pinned, the slower Google Chrome will start up. Each tab will need to be loaded.


Get busy pinning and save time opening!


If you want these directions in a document Click Here!