I remember when we had to go to the library and do research for class reports. We would bring a stack of index cards and write our notes out on them to use later. We would have to record bibliography info from the source on the card so we could cite it later. All this writing was so time consuming, and if you were not organized well you would surely lose one of the cards (and usually the most important one). There is a better way to do this. These days nearly all our research s done on the computer. Instead of writing out all those cards by hand and having a chance to lose them you can now use a simple template in Google Slides to create, edit, organize, and print these cards. Follow the steps below to get started.
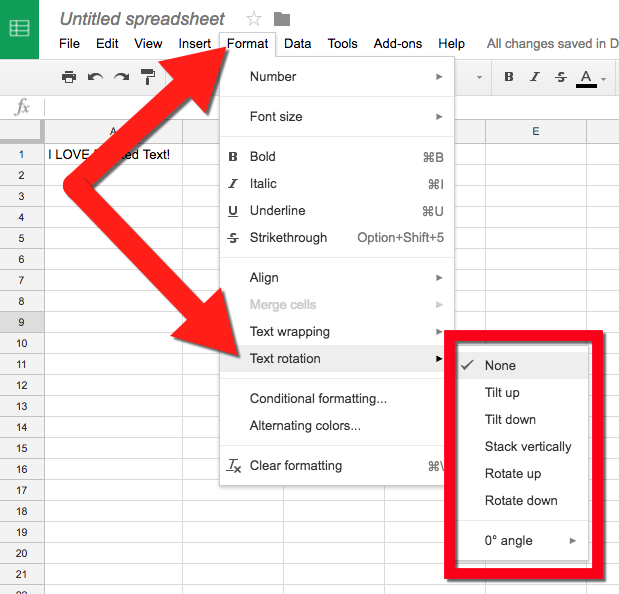
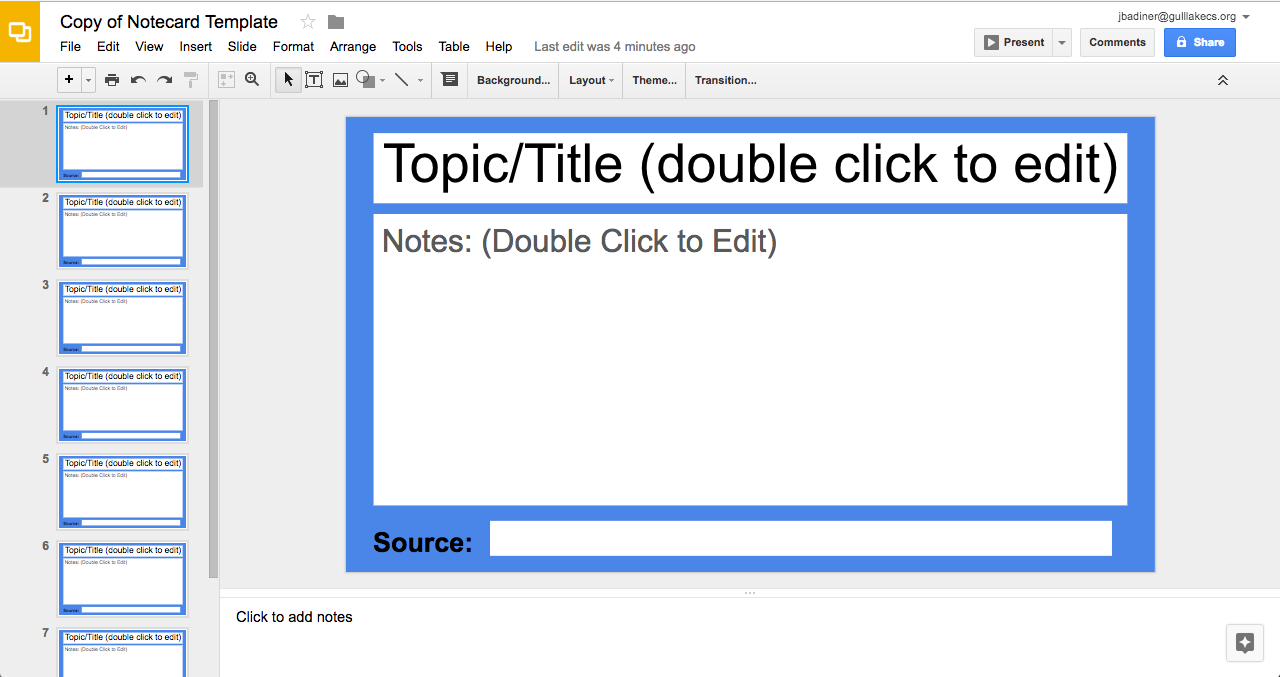
Create Research Note Cards in Slides
-
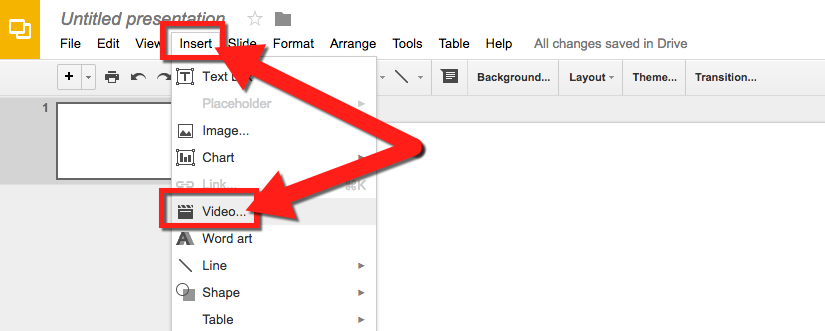
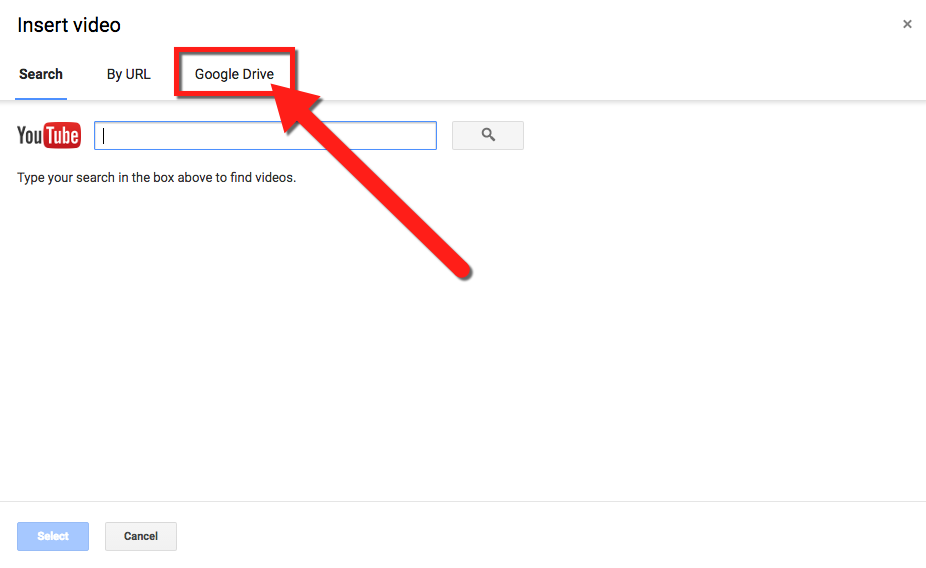
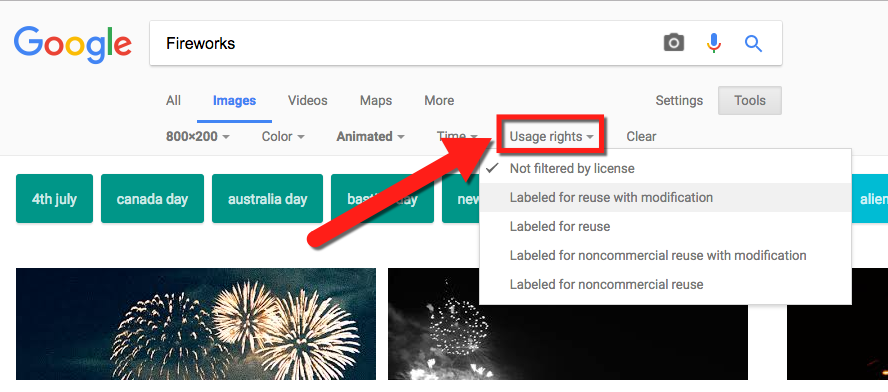
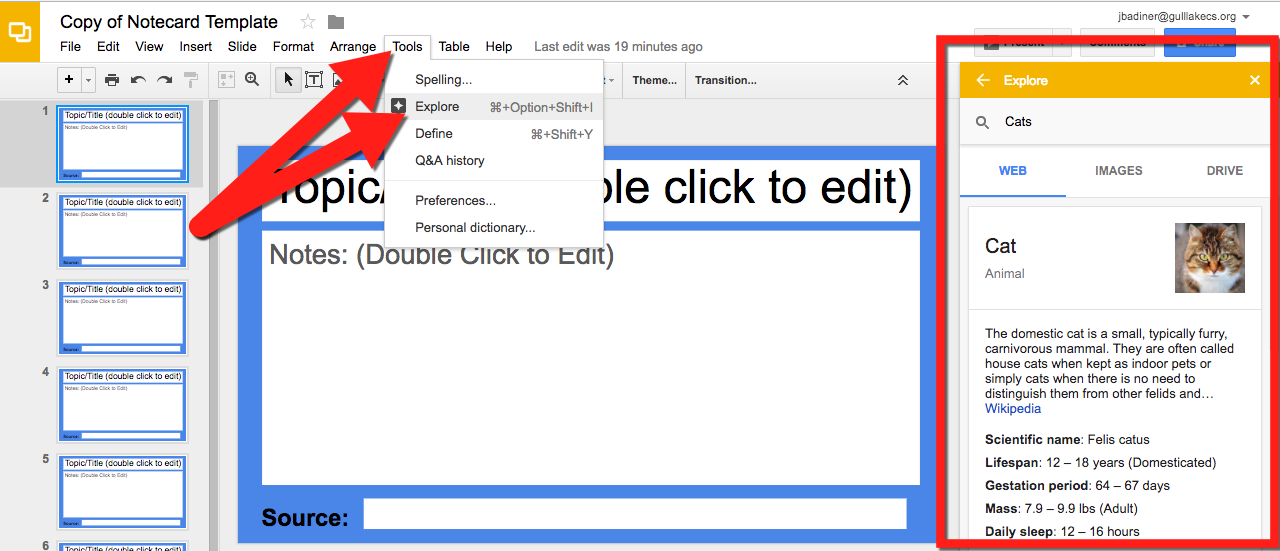
You can do research by doing regular web searches or using the “Explore” tool to find information within Documents or Slides. You can even insert images into your notes and the citation is attached to the image.
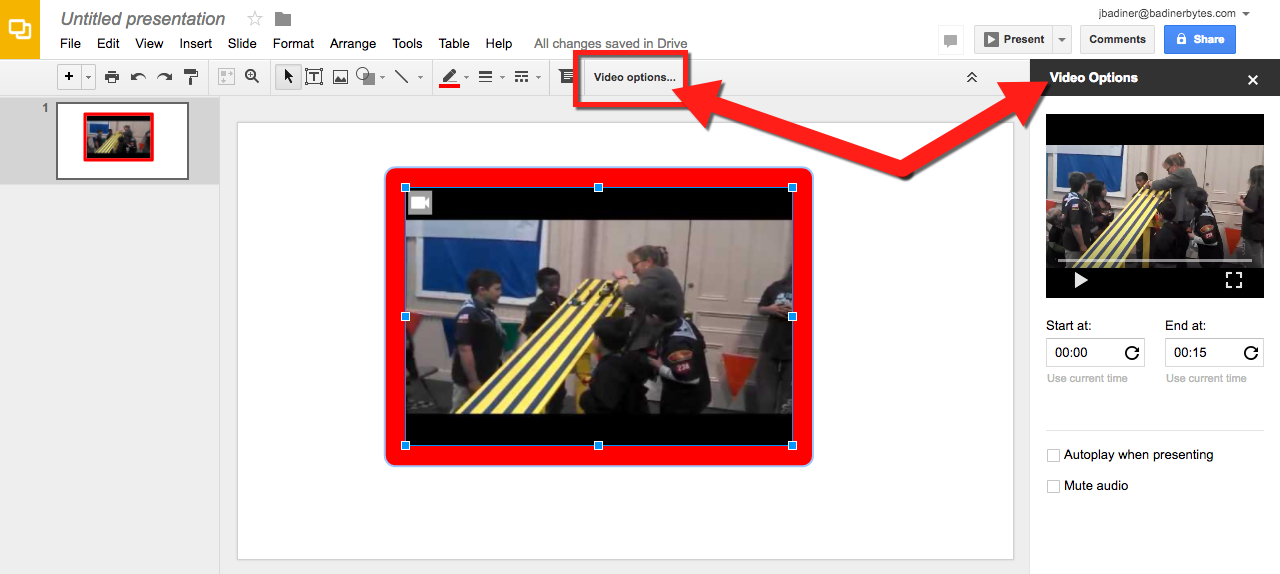
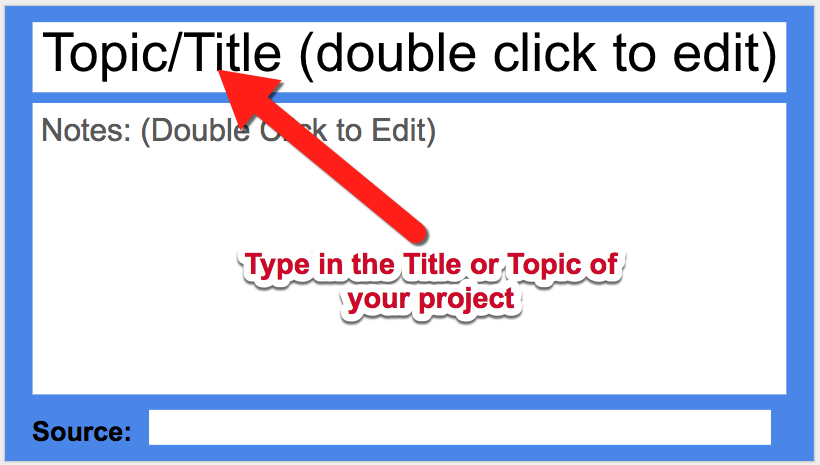
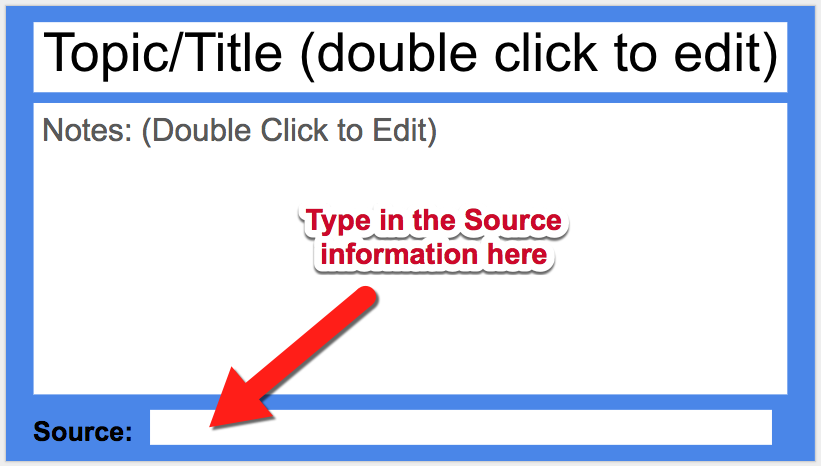
Fill in the Title text box with the topic of your research.
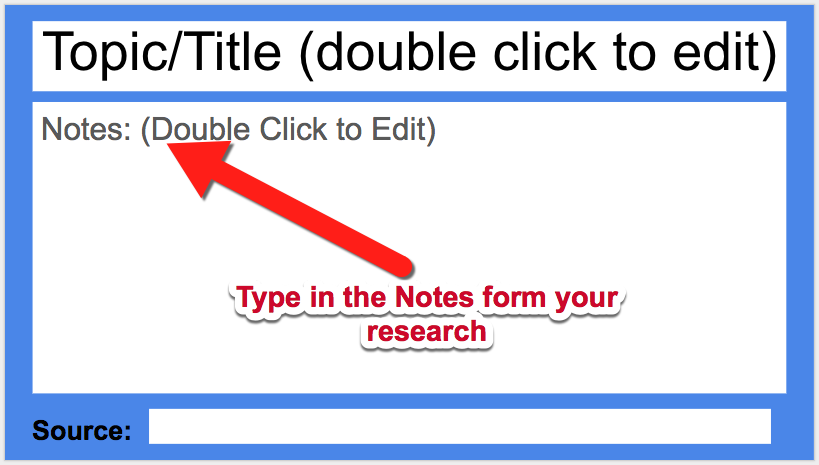
Put your notes in the large text box. If you need to you can change the font smaller to fit more info in the one box.
Copy the web URL and other info in the Source box.
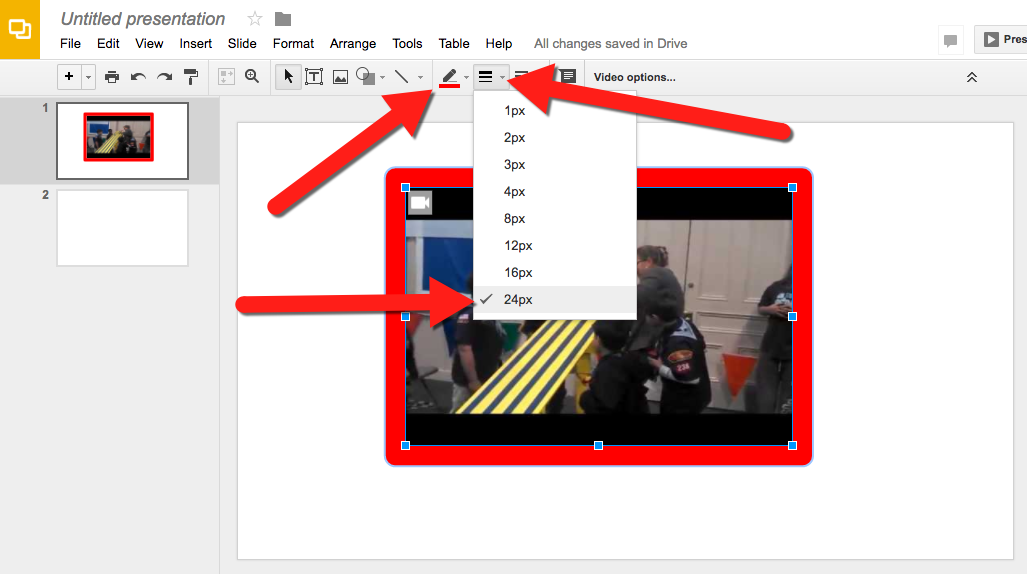
The best part is that you can keep these note cards in your Drive so they will not get lost! Another bonus is that reorganizing is as simple as dragging the cards into any order you want on the left side! If you want each subtopic of your research to stand out you can change the background color make them stand out.
Start planning your next research project without all having to hand write out all those index cards and having them fall all over the place and getting lost!
If you want these steps in a document click Here!